
This article contains affiliate links — if you download through them we may earn a commission at no extra cost to you.
Installing LDPlayer is no harder than installing any other Windows program. The part that trips people up happens before the installer runs — a single BIOS setting that decides whether the emulator flies or crawls.
Which Windows versions it runs on
LDPlayer 9 installs on Windows 11, 10, 8 and 7, on desktops and laptops alike. Windows 11 and 10 are where it behaves best, simply because graphics drivers for those are still being updated. Windows 8 and 7 work, but expect the occasional game to refuse a very old GPU driver.
Two things are worth checking before you blame the emulator for anything:
- Grab the 64-bit build. Several newer games won’t launch on the 32-bit one at all.
- On a laptop, keep the charger in. Battery power throttles the CPU hard, and an emulator feels that immediately.
Before you start
Beyond the OS you’ll want at least 4 GB of RAM — 8 GB if you plan to game — and around 10 GB of free disk space. The emulator’s virtual disk grows as you install apps, so don’t cut it close.
The setting that actually matters is virtualization (VT). Without it LDPlayer still runs, it just crawls. Restart your PC and tap F2, F10 or Del during startup to enter the BIOS, open the Advanced tab, and look for Intel Virtualization Technology — on AMD machines it’s called AMD-V or SVM Mode. Set it to Enabled, then press F10 to save and exit.
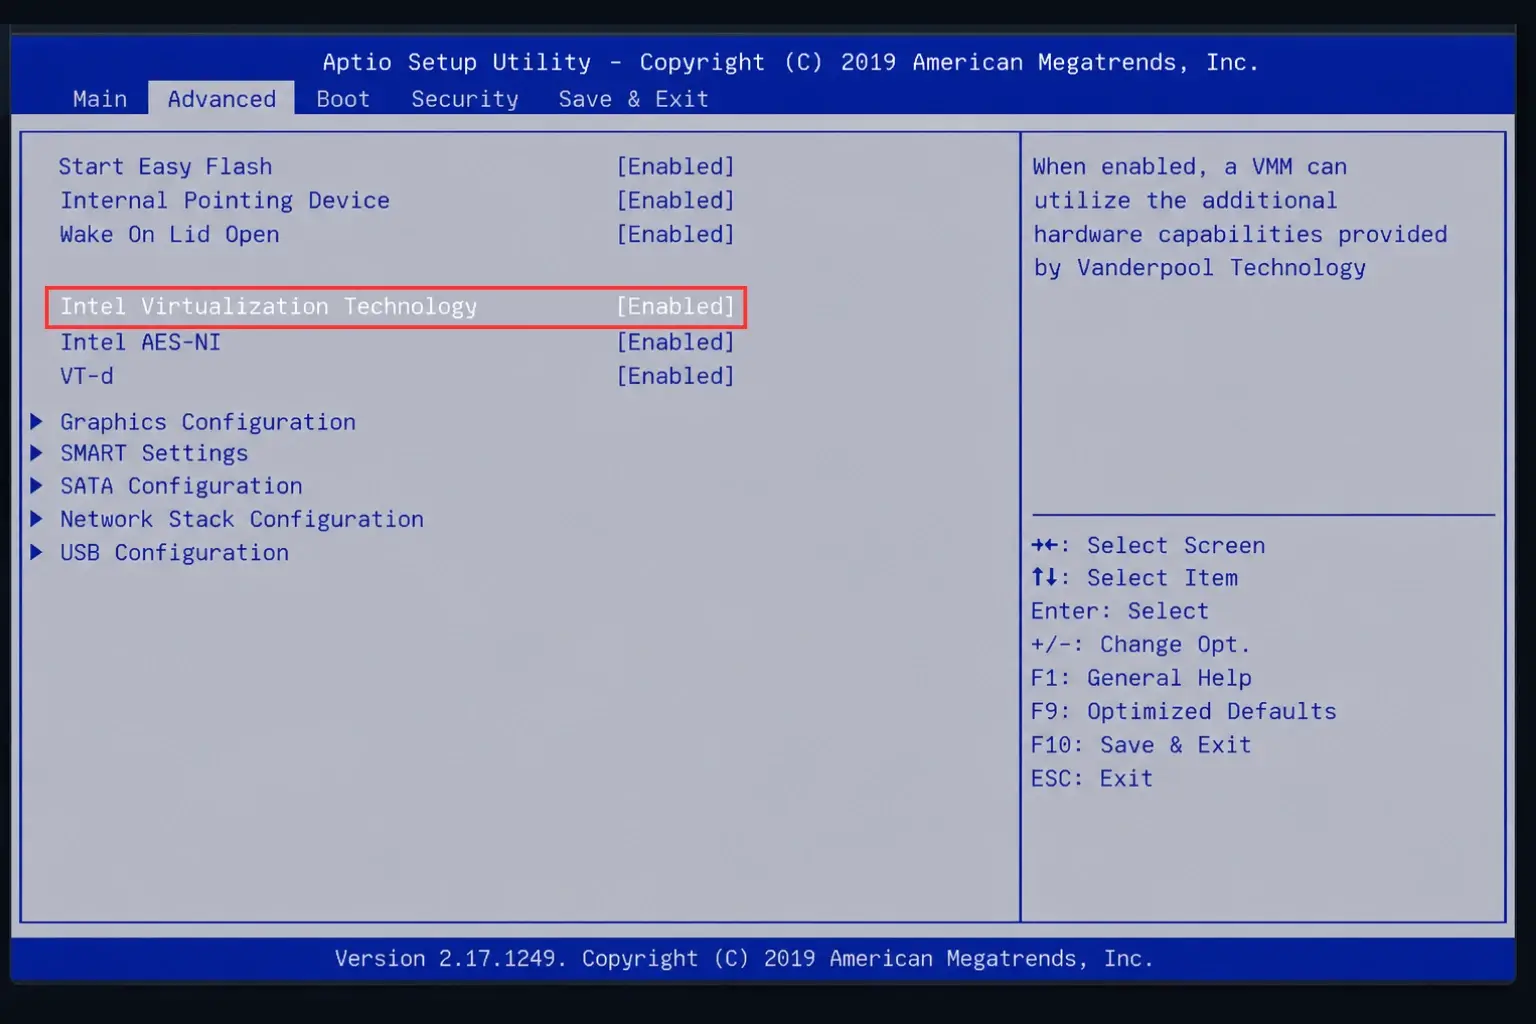
Menu names vary between motherboard makers, so don’t expect your BIOS to look identical to the screenshot. The word to hunt for is Virtualization.
Download and install
Grab the installer from the official LDPlayer site and run it. The setup window is refreshingly simple — one big Install button and, tucked under Setup path, the install location.
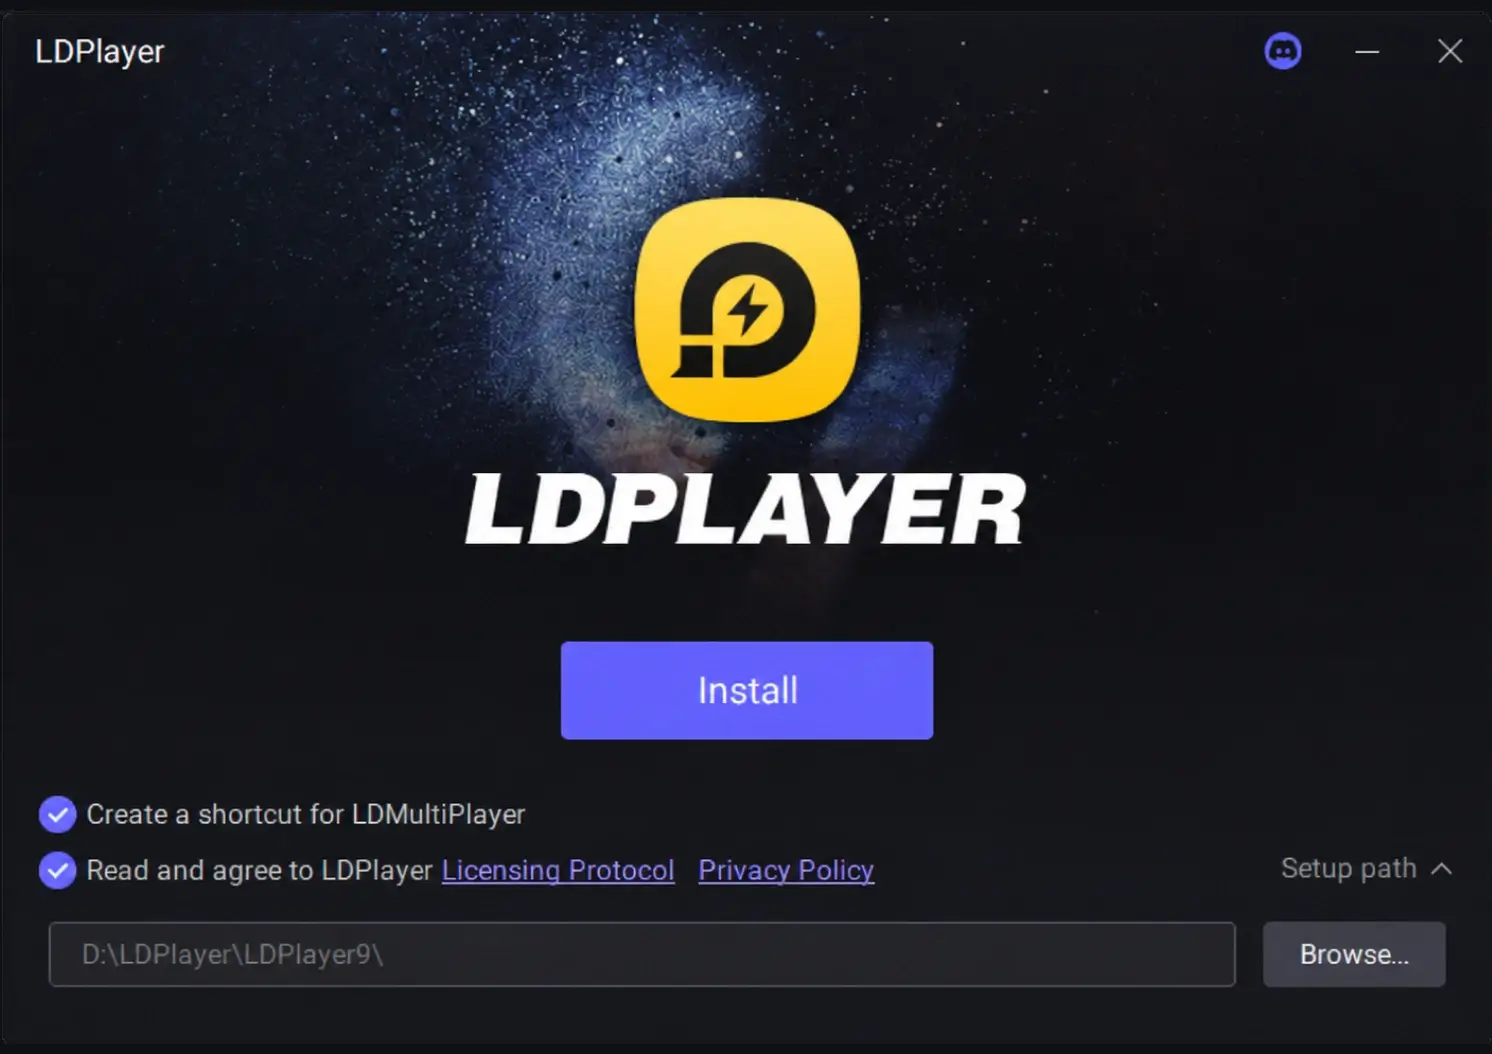
Two things worth doing before you click Install:
- Change the path if your C: drive is tight. Point it at a roomier drive (
D:\LDPlayer\LDPlayer9\, for instance). Moving it later means reinstalling. - Leave “Create a shortcut for LDMultiPlayer” ticked. LDMultiPlayer is the tool for running several instances at once, and it’s also the fastest way to rescue a broken instance later.
Installation takes a few minutes. When it finishes, launch LDPlayer from the desktop shortcut — the first boot is slower than every boot after it.
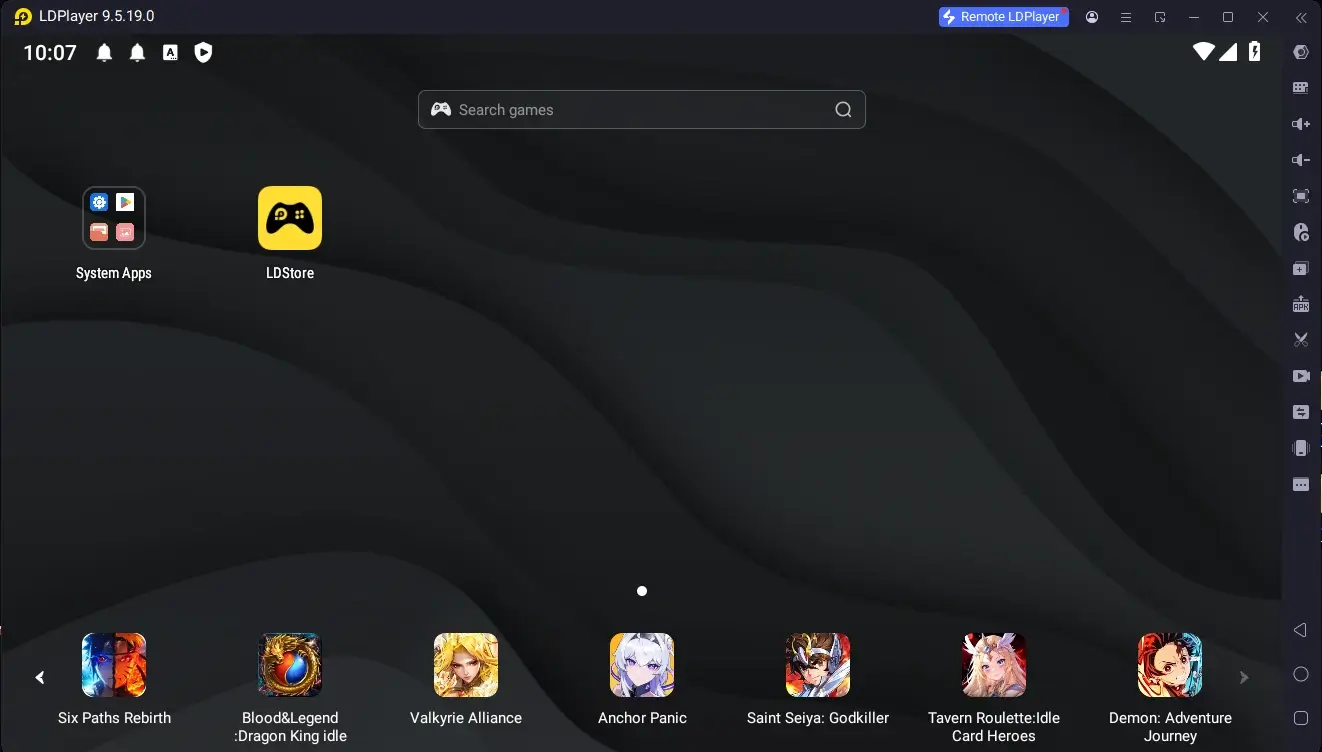
You should land on an Android home screen with a System Apps folder and the LDStore icon. That’s the emulator working.
Sign in to Google Play
LDPlayer ships with the Play Store, but it won’t install anything until an account is attached. Open System Apps → Play Store, tap Sign in, and enter your Google details.
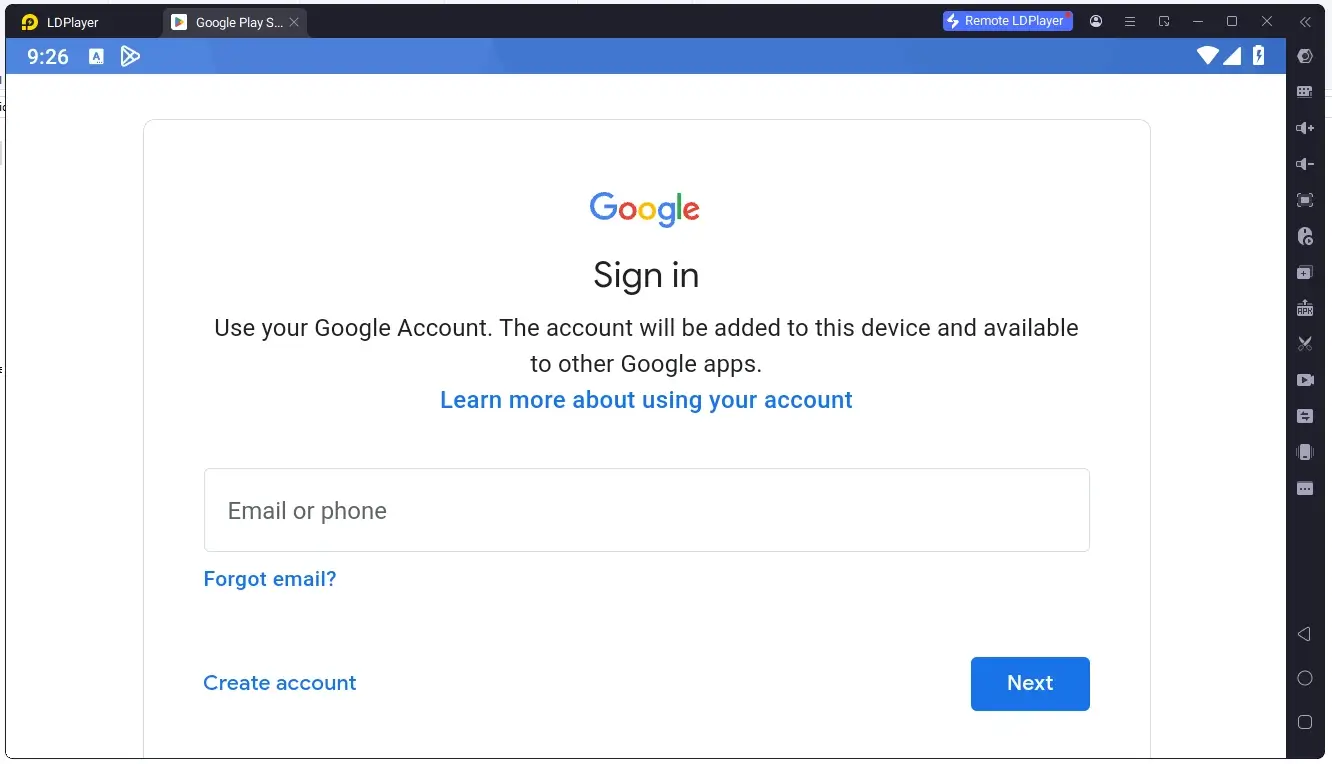
If you’d rather not tie your main account to an emulator, make a secondary Google account for it. Everything works the same, and any purchases stay separate.
Prefer to skip Google entirely? The built-in LD Store and plain APK files both work — see our guide on alternative ways to install apps .
First-launch settings worth checking
Before you install anything heavy, open the menu button in the top-right corner and go to Settings:
- Advanced — CPU and RAM. Both dropdowns already show a (recommended) value calculated from your hardware. Leave them alone.
- Display — resolution and DPI. 1280×720 is the sweet spot for most games on a laptop screen.
That’s genuinely all most people need. If it still feels sluggish afterwards, work through our performance guide — and if it won’t start at all, the troubleshooting guide covers the usual culprits.